At a glance
- Keep dry project parts, tools, and restart notes separate.
- Photograph the work and record its next step before packing it away.
- Store glue, paint, and blades under their makers’ directions.
A project can be technically “put away” and still be difficult to resume. The usual cause is that its current state was never captured: a loose piece looks like spare material, a tool disappears into a general drawer, or the next step depends on remembering how two parts fit. This method is for dry paper and card projects. Treat adhesives, paints, and blades as a separate safety and storage question governed by their manufacturers.
Make a three-part inventory before moving anything
Pause at the point where work stops. Name three groups: completed subassemblies, loose dry components, and tools. Do not combine a partly assembled piece with the pieces still waiting to be used. That distinction helps you restart without taking apart finished work or mistaking a spare for a missing component.
Photograph the overall project, then take a closer image of the exact next connection or cut. A photo is a reference, not a substitute for a written note: add one sentence naming the next action and any orientation that matters, such as “attach the narrow strip to the left edge.” Avoid inventing a sequence from memory later.
Keep the next step visible in the record
Write the project name, date paused, next action, and any question you still need to answer. If a part is intentionally unfinished, label it as such. Put the note where it stays with the project, without sticking tape to a finished surface. A small paper slip inside the container can work; if you photograph the note, ensure the image is findable when you return.
For reference care, the Library of Congress advises handling paper with clean, dry hands and supporting fragile sheets. That guidance helps explain why loose paper pieces should be kept flat and supported; it does not specify a particular household tray or prove its dimensions are suitable. See the Library of Congress paper-care guidance.
Choose a container by the parts you measured
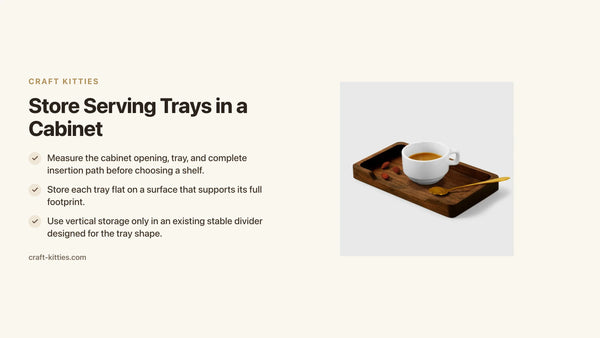
Measure the largest flat piece and note its shape before choosing a home. A product’s outside dimensions do not establish its usable interior or whether a project will fit. Confirm opening and clear space against the actual item. A walnut square tray is listed at 7.4 by 7.4 inches externally; that listing does not establish an interior capacity, so use it only if your own comparison confirms the fit (product listing). The double-layer jewelry tray listing names 260 × 120 × 120 mm overall; that is likewise not a usable cavity measurement.

Description
Keep heavier tools out of the same open area as delicate cutouts. For small, loose pieces, use a labeled envelope or separate compartment only after checking actual dimensions. The U.S. Forest Service notes that wood care depends on finish; ask the maker before applying a treatment, as explained in its wood finishes reference.
Use a restart check instead of relying on memory
When you reopen the project, compare the photo with the physical assembly. Check the parts count, read the next-step note, and confirm that the tools are still appropriate for the material. If the project changed before it was stored, update the note rather than forcing an old sequence onto new work.
| Item at pause | What to record | Where it goes | Check when restarting |
|---|---|---|---|
| Finished subassembly | Orientation and any join left unfinished | Supported, separate area | Match it to the overview photo |
| Loose dry part | Count, shape, and intended next use | Labeled envelope or measured compartment | Reconcile the count before assembly |
| Tool | Name and whether it is needed next | Separate tool space | Confirm it is present and suitable |
| Restart note | Exact next action and open question | With the project | Read before moving components |
When storage needs a different answer
This workflow is not a chemical-storage plan, child-safety assessment, or guarantee that a wooden organizer tolerates moisture or a particular load. Follow the label and maker instructions for glue, paint, and sharp tools. If the work includes fragile, valuable, or unusually large pieces, ask the material or object maker how to support them. For more general placement decisions, see our guide to wood catchall trays.
Create a clean return point for each tool
A restart goes more smoothly when tools return to the same place each time. Use the note to identify any tool that must be brought back before the next step, then count it on return. Keep blades and wet materials governed by their labels and makers; this project tray plan covers only dry paper and card components.

Description
FAQs
Should I pack away tools with the project?
Keep ordinary dry tools identified and separate from loose components so you can find them without disturbing the assembly. Store blades and materials with special handling needs under their makers’ directions.
Is a tray automatically large enough if its listed dimensions exceed my paper piece?
No. Listed outside measurements do not tell you the usable interior, opening, or clearance. Compare your actual project with the measured usable space.
What should the restart note say?
Name the next physical action, the part it applies to, and any unresolved question. A brief specific instruction is more useful than “continue project.”
Can I store wet glue or paint in a wooden tray?
This guide does not establish chemical compatibility or spill resistance. Keep those supplies according to their labels and manufacturers’ instructions.