At a glance
- Count and label original pages before scanning, then reconcile the saved captures page by page.
- Check all four corners, legibility, order, and save location before returning each original.
- A scan is not automatically a legal substitute or archival record.
A phone can capture a batch of papers quickly, but the easy-to-miss failure is returning an original before confirming that every page was captured and saved. Make a small ledger that links each physical document to its page count, capture check, destination, and return enclosure. The ledger—not memory—closes the loop.
Prepare originals and a clean capture area
Clear a level desk surface and remove unrelated papers. Assign each document a short ID, such as “A—insurance letter” or “B—three-page form,” without writing on the original. Count the pages and note their order. Separate documents into three physical groups: not scanned, captured but not verified, and verified. Use folders or clean enclosures if an original is valuable; do not press, flatten, or reshape a fragile or damaged sheet to make the camera view easier.
The Library of Congress recommends clean hands when handling valuable paper and gives conservation guidance for ordinary paper handling. Follow a conservator’s advice for fragile, historic, or damaged documents rather than treating a phone-scanning routine as preservation care. See the Library of Congress paper-care guidance.
Choose a capture path and keep it consistent
Apple’s Notes and Files apps provide document-scanning workflows, including automatic or manual capture and corner adjustment. Follow the current Apple scanning instructions on the actual phone; interface labels can differ by iOS version. If automatic capture misses an edge or selects the wrong sheet, switch to manual capture rather than repeatedly accepting a poor frame.
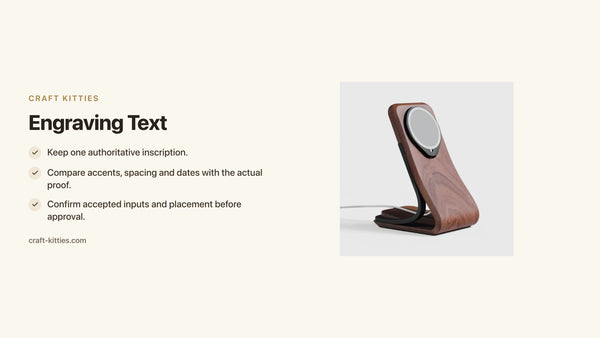
Set the phone in a position the camera can safely use. The documented information does not establish that a charging stand is an overhead scanner mount. If you hold the phone, keep your grip steady; if you rest it somewhere, confirm that it cannot slip and that the camera sees the page corners. Do not place the paper on a tray and infer the tray is an archival surface or scanning device.
Capture one document at a time
Work through one labeled document from first page to last. For every scan, inspect the four page corners, text legibility, orientation, and page sequence before adding the next document. A slightly skewed page may be acceptable if all content is readable; a clipped signature, faint footnote, or missing back page is not. Use the app’s corner adjustment when needed, then check the result again.
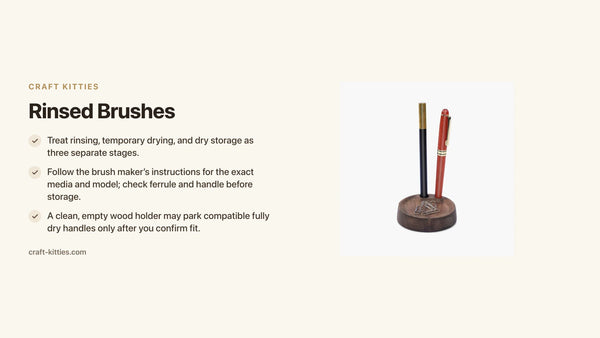
A 205 × 150 × 15 mm external size is listed for the square walnut desk tray. A 210 × 76 × 20 mm size is listed for the walnut pen tray. These dimensions describe the products’ outside sizes, not an interior scan area, overhead camera support, archival rating, or ability to hold a particular paper batch. Use a desk organizer only if its actual surface suits the task and the phone is independently stable.
Reconcile every original with the saved file
Before returning the original to its enclosure, check the capture count against the page count. Open the saved scan and verify that it is readable and stored in the intended folder or note. Give the file a name that corresponds to the paper ID, not just a default timestamp. Do not assume that a local scan is backed up, encrypted, legally sufficient, or retained indefinitely; those questions depend on the app, account, and document requirements.
| Original ID and count | Captured pages | Corner and legibility check | Saved destination | Original return enclosure |
|---|---|---|---|---|
| A — 2 pages | 2 of 2 | Both pages readable; all corners visible | Named folder or note recorded | Back in folder A after verification |
| B — 3 pages | 3 of 3 | Page order checked; reverse side included if needed | Destination opened and confirmed | Returned to labeled sleeve B |
| C — 1 page | 1 of 1 | Signature and small print readable | File name matches ID C | Returned only after final count |
These rows are examples of a record format, not scans we performed. For larger batches, initial each row as you finish it. If a page is missing or illegible, leave the original in the unverified group and recapture it before returning the rest.
Choose an enclosure based on the paper, not the tray
Ordinary working copies can return to their normal file. Valuable originals may need an appropriate enclosure or professional advice. A wooden tray can serve as a temporary desk organizer, but no archival certification or environmental protection is documented for the listed trays. For general workspace zoning, see home office clutter solutions or our desk decluttering guide; those organization articles do not decide legal retention or document preservation.
A batch ledger also prevents a subtler mistake: capturing every page but mixing two documents into one file without noticing. Give each physical item an ID before capture and name the saved file with the same ID. After each capture, open the result rather than relying on a thumbnail. Zoom only enough to check small print and signatures; do not crop content to make the page look cleaner. If the application saved pages in the wrong order, correct the scan while the originals remain in the unverified stack.
For two-sided documents, note whether the reverse side contains printing, a stamp, or a blank page that still matters to the record. Include both sides when required by the document’s purpose; this guide cannot determine legal sufficiency. If a valuable page is curled, brittle, or torn, do not press it flat under a tray or phone. Set it aside and ask a preservation professional how to capture it safely.
For a batch containing loose receipts, two-sided letters, and multi-page forms, use a separate ID for each type rather than one label for the whole pile. Capture one item fully, verify and save it, then move that original to the completed enclosure. Mixing the stages can make a missing page hard to notice because the physical pile no longer shows which item is unfinished.
A simple batch closeout is to count verified rows and compare that count with the number of originals you set aside at the start. If they differ, keep the remaining originals unverified and resolve the mismatch before filing.

Description
FAQs
Should I return the original as soon as the scan appears?
No. Check the page count, all corners, legibility, sequence, and saved destination first. Leave the paper in the unverified group until those checks pass.
Can a phone scan replace a signed or legal original?
This workflow cannot establish that. Requirements depend on the document and jurisdiction; preserve the original and consult the relevant authority or professional.
What if the paper is fragile or torn?
Do not force it flat or use the routine capture sequence if it risks damage. Follow a conservator’s advice and handle it with appropriate support.
Can a desk tray hold the phone above the document?
No such capability is documented for these products. Use only a phone position that is stable and supported by the phone/accessory maker.